


 This is a sponsored post written by me on behalf of The Home Depot- thoughts and opinions are 100% my own.
All good things must come to an end and in this process of making our raised flower bed in the front yard I learned a lot. I am SO happy that it is done and looks as amazing as it does. I’ve enjoyed the neighbors stopping by on their nightly walks (yes, I live in a neighborhood like that!) and complimenting us on how great it looks! Several neighbors were interested in the treated timbers and were inspired to do smaller scale versions of what we did.
Originally we had wanted a curvy, rounded type of bed, but after realizing we already had that in our flower bed by our front door- we thought a plain, simple but classic looking raised bed was the best fit for our house. As a reminder, our house has a slight hill and we wanted an even raised bed, not just a bed that followed the bottom of the house. Raised beds, when done right, add a whole lot to the front of a house. We love being outside but we aren’t natural gardeners (if somehow you have missed that underlying point I’ve been making in every post) so we wanted something low maintenance but that still looked good.
One thing that we were inspired while working on this project was to keep adding more plants. I think a nice ground cover that would drape over the edge of the raised bed would look nice and break up the wood. Also, a lot of veggies have beautiful colors and we looked at different lettuces and cabbages as a possibility to add in. At this point, we wanted to get finished up and then see what could be bettered or modified as the summer goes on. Who knows? Perhaps I’ll be up for planting some fall squashes or pumpkins by September! 
My tip for anyone attempting to make their own raised flower or veggie bed is to just do it! I let my fear keep me with an unattractive front yard for the last 3 years so to just do it and get the kind of amazing results we did felt amazing.

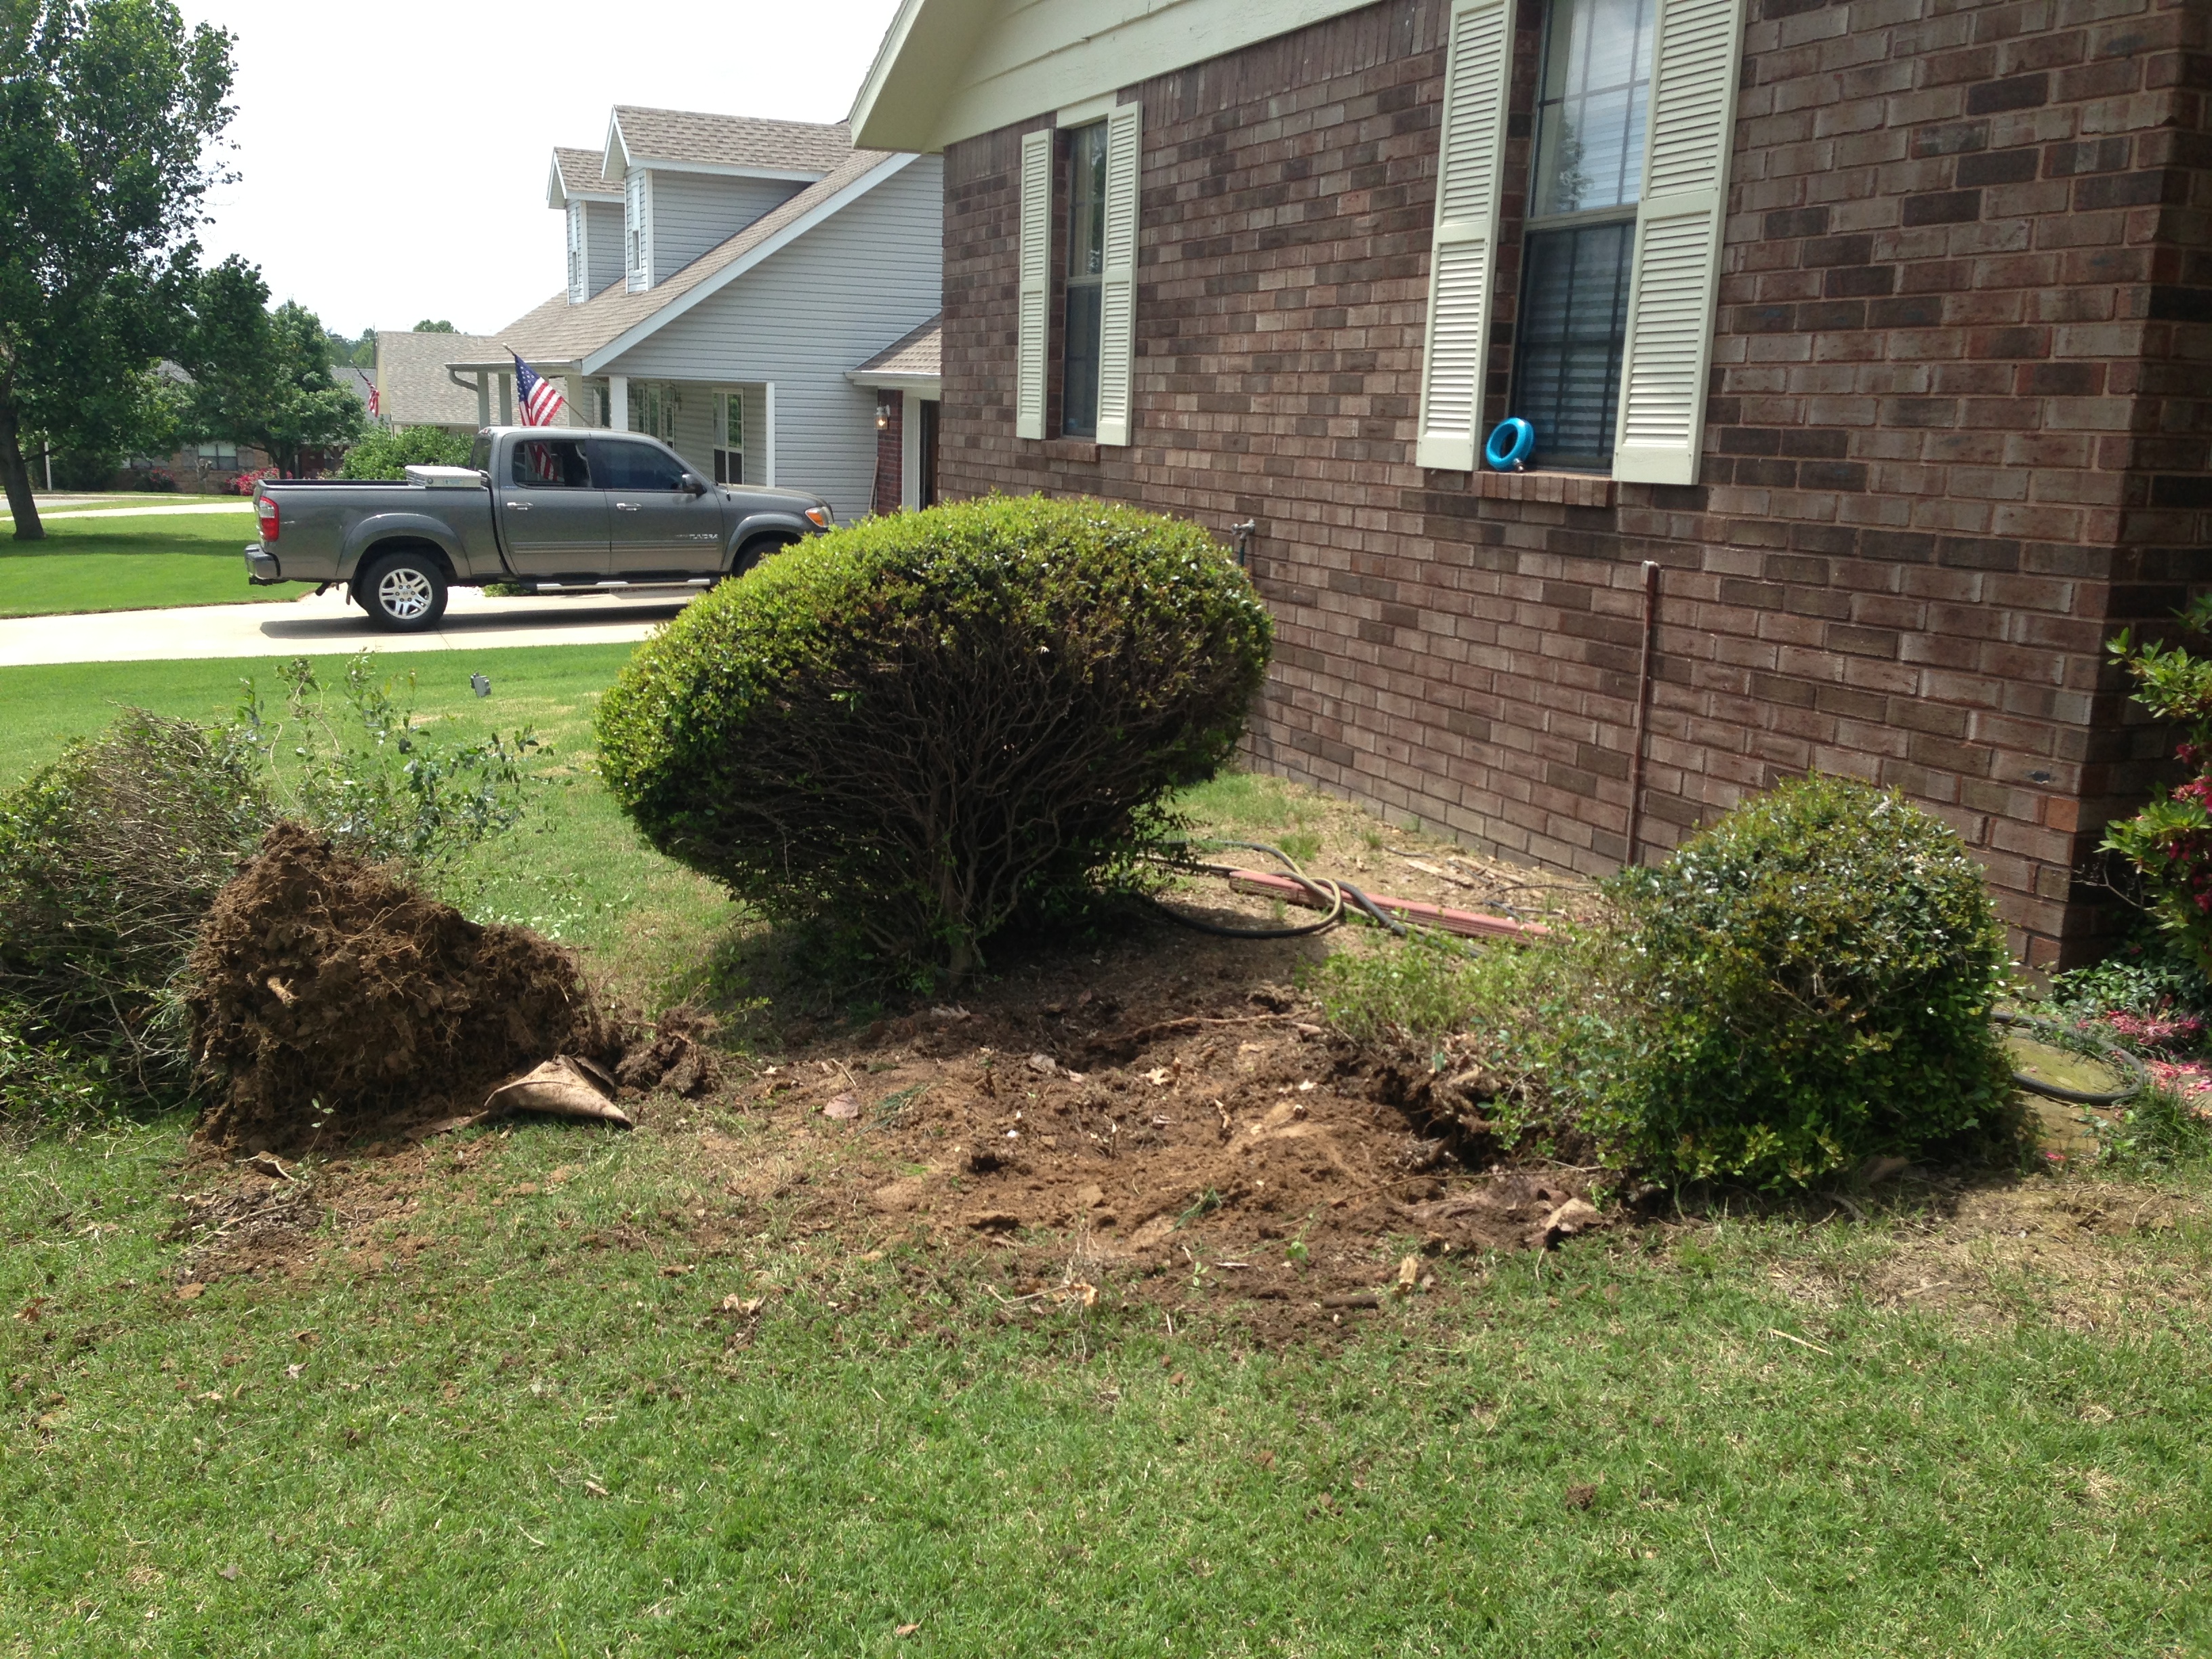
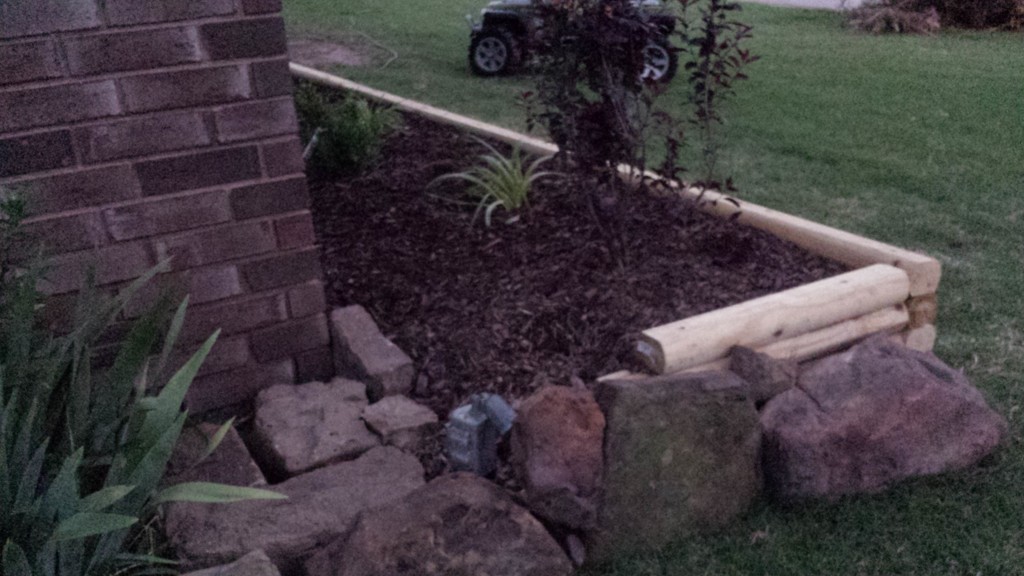
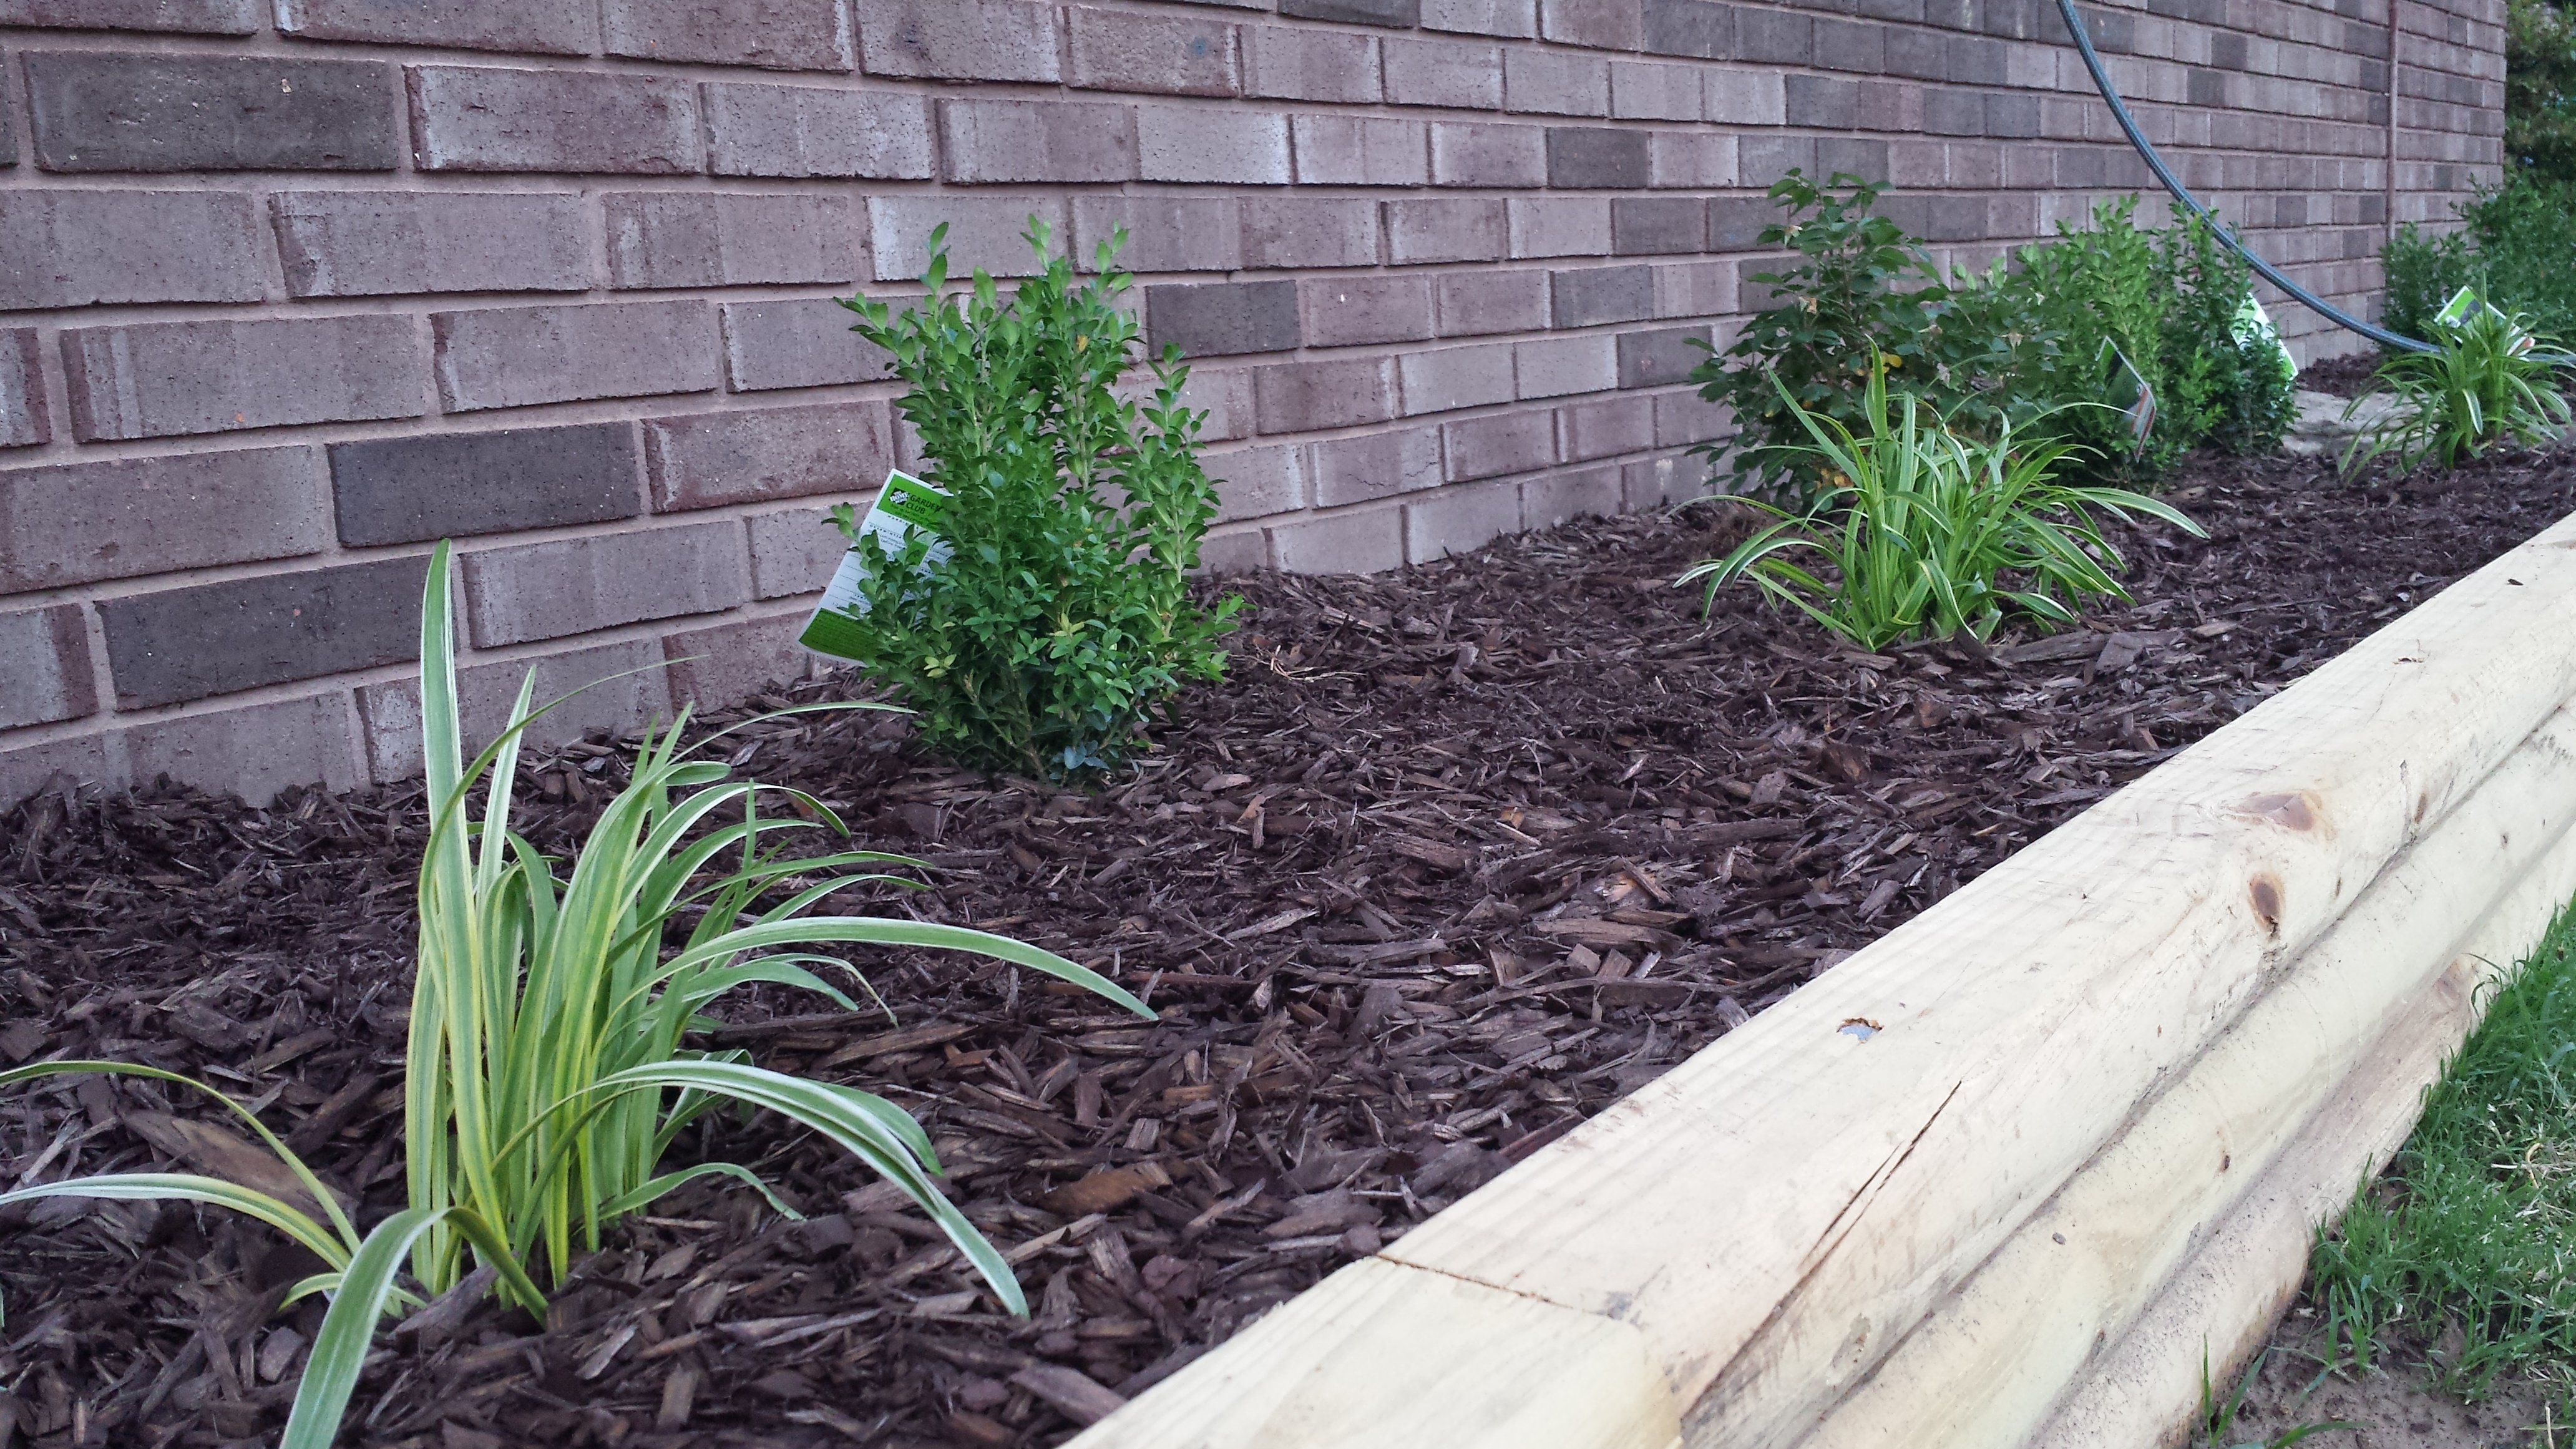
With rain storms moving in frequently this week (GRRR!) we stayed up late planting our boxwoods, knockout roses and spider plants. We used a measuring tape to make sure that our plants were about the same distance a part. Also, we used nice soil from the Home Depot to plant these in to help them survive our neglect the hot summer that is coming! Just as a quick reminder before the after pictures, here are a few before so you can see how massive this project was!
Here is my Home Depot Project Outdoors journey from the first post if you want to catch up!
3. It’s Go Time
4. The Process
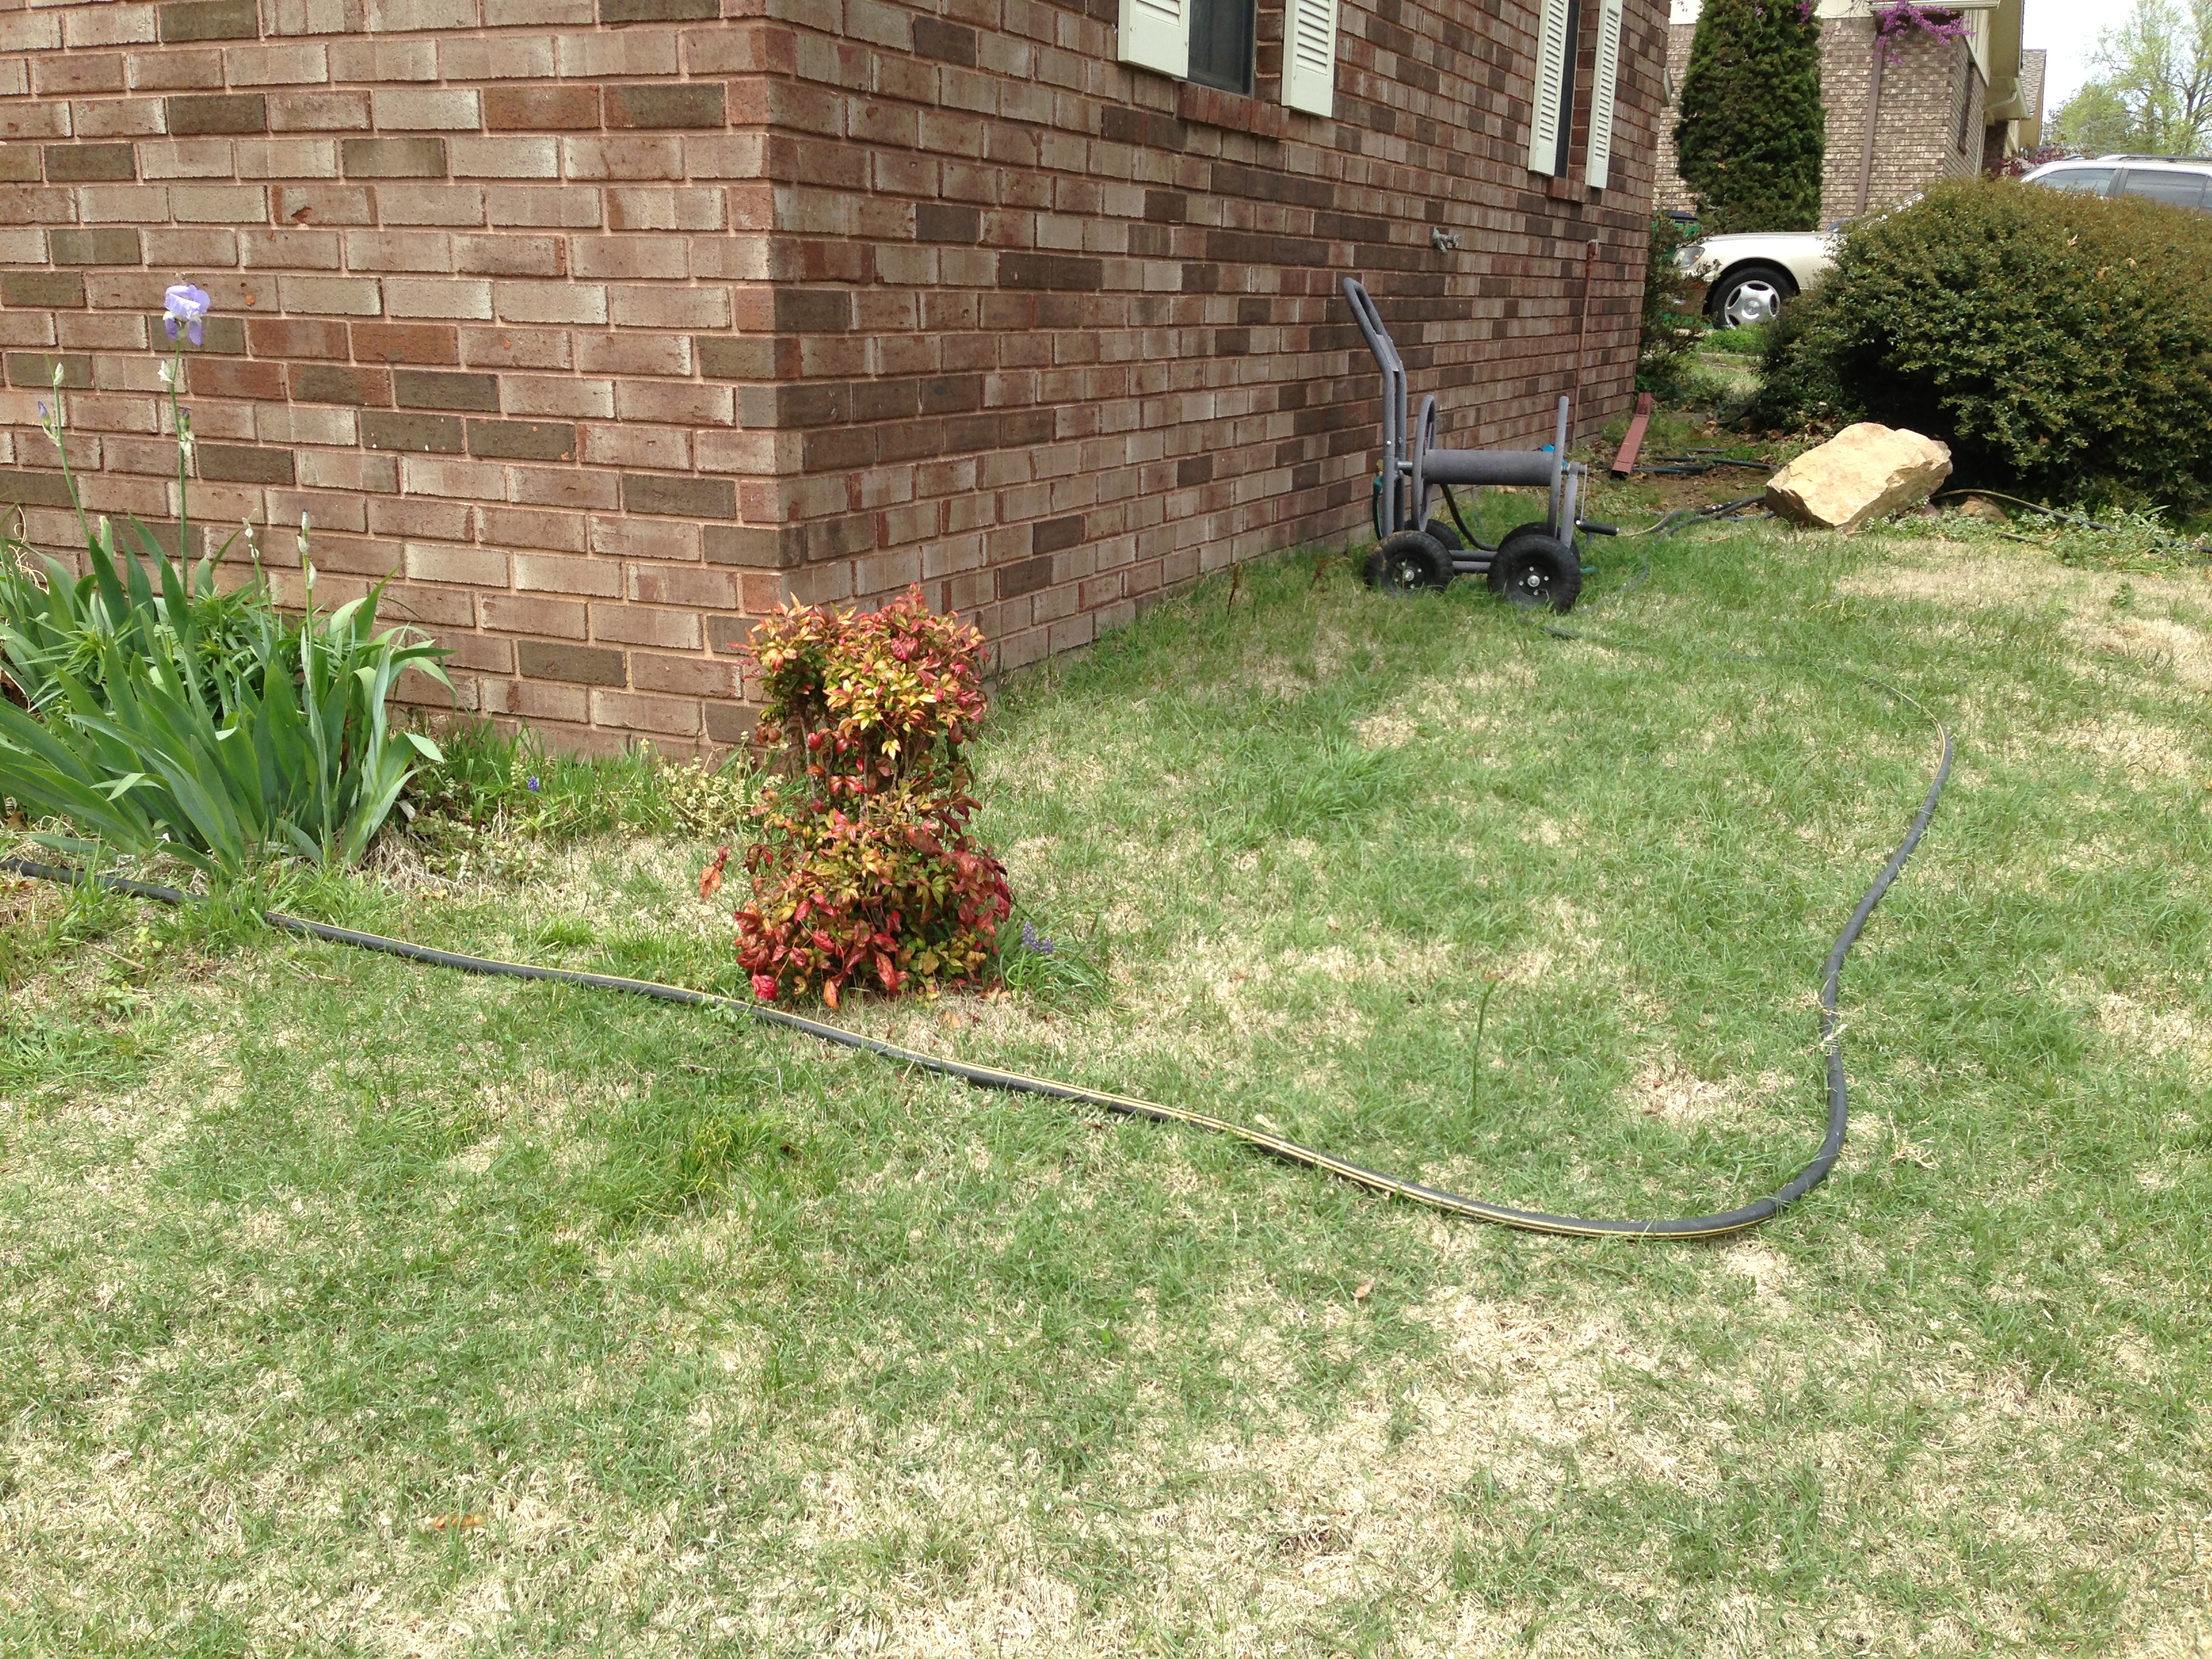
Before:
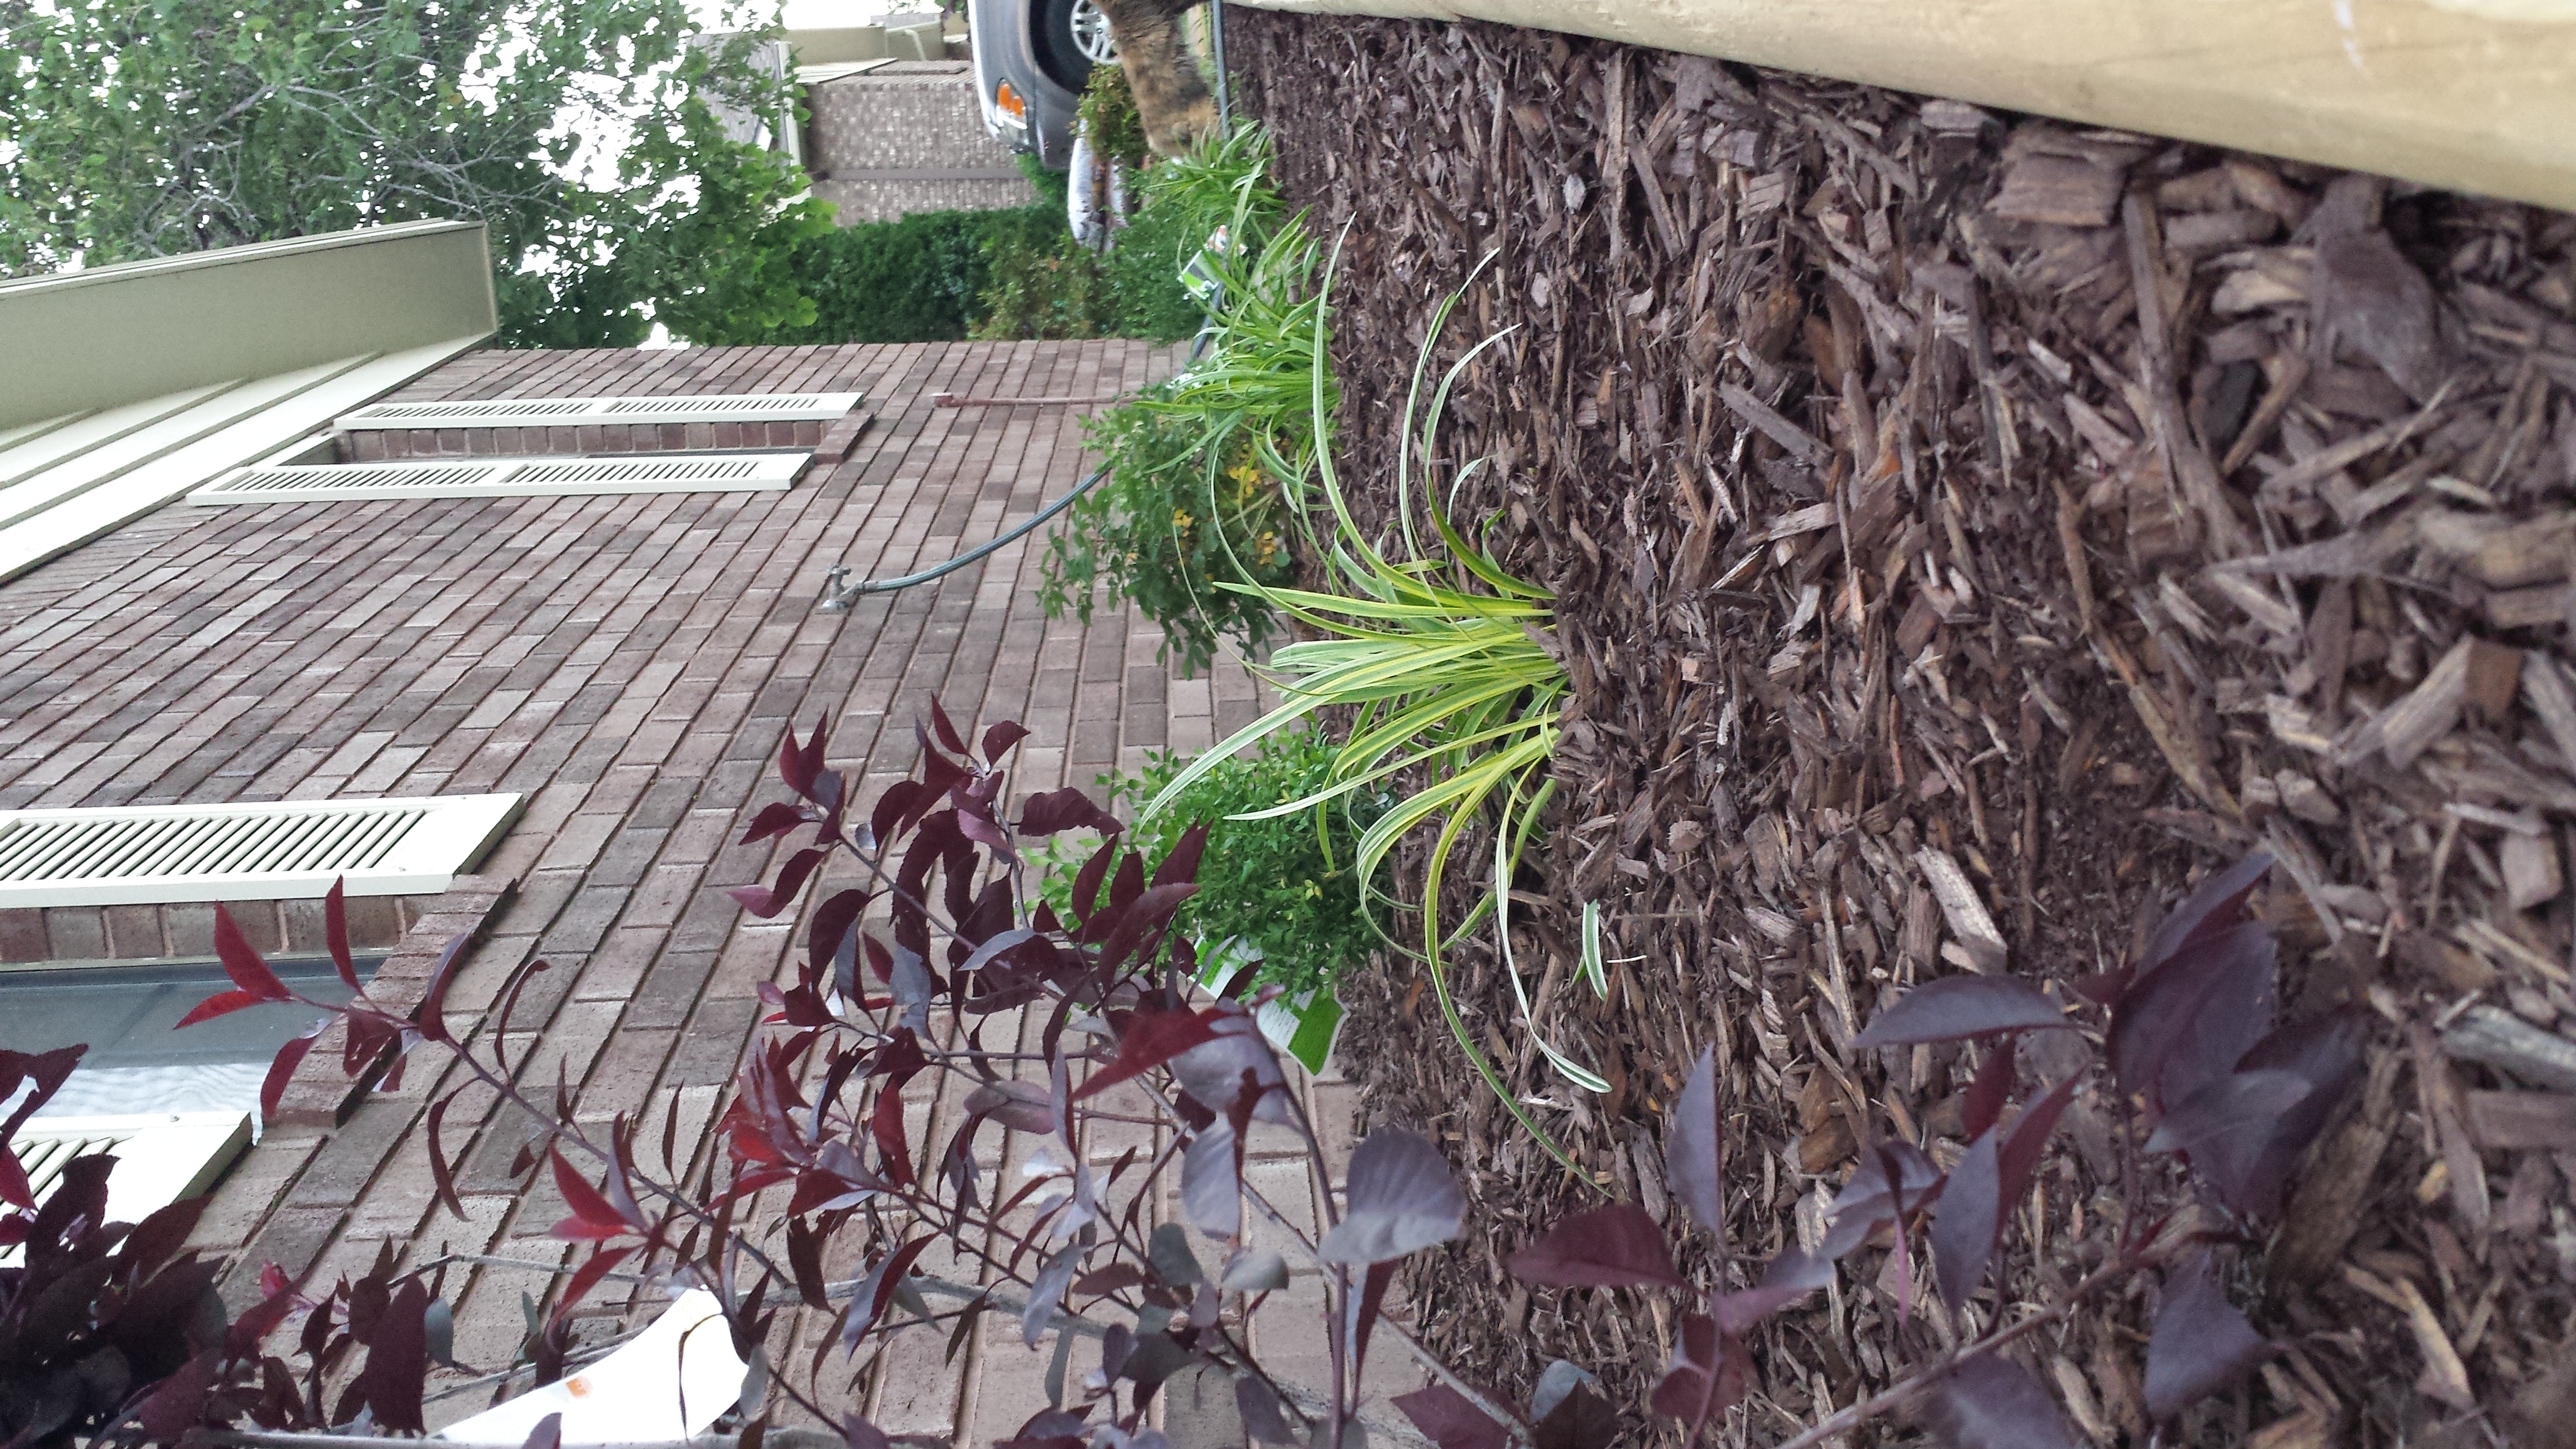
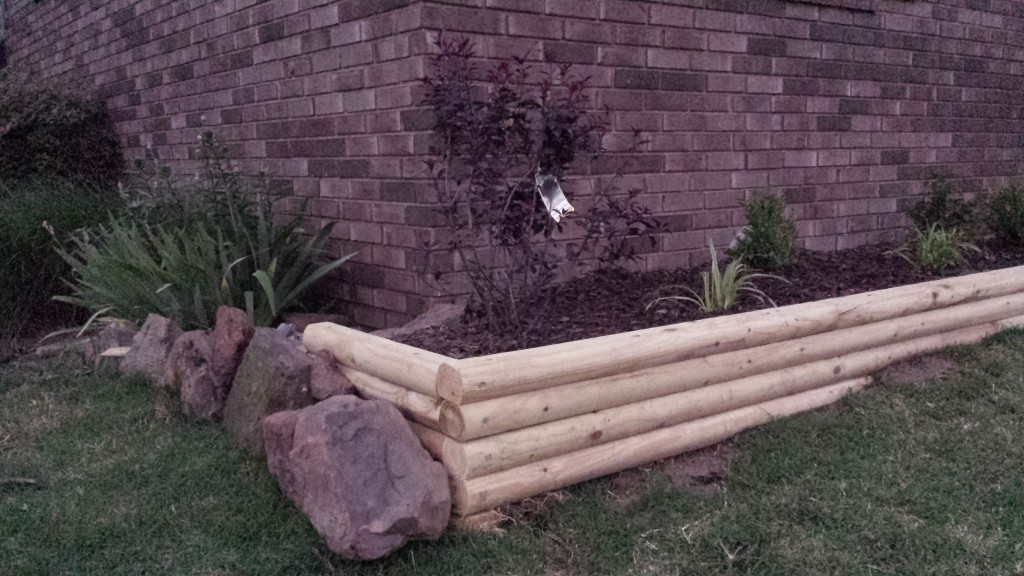
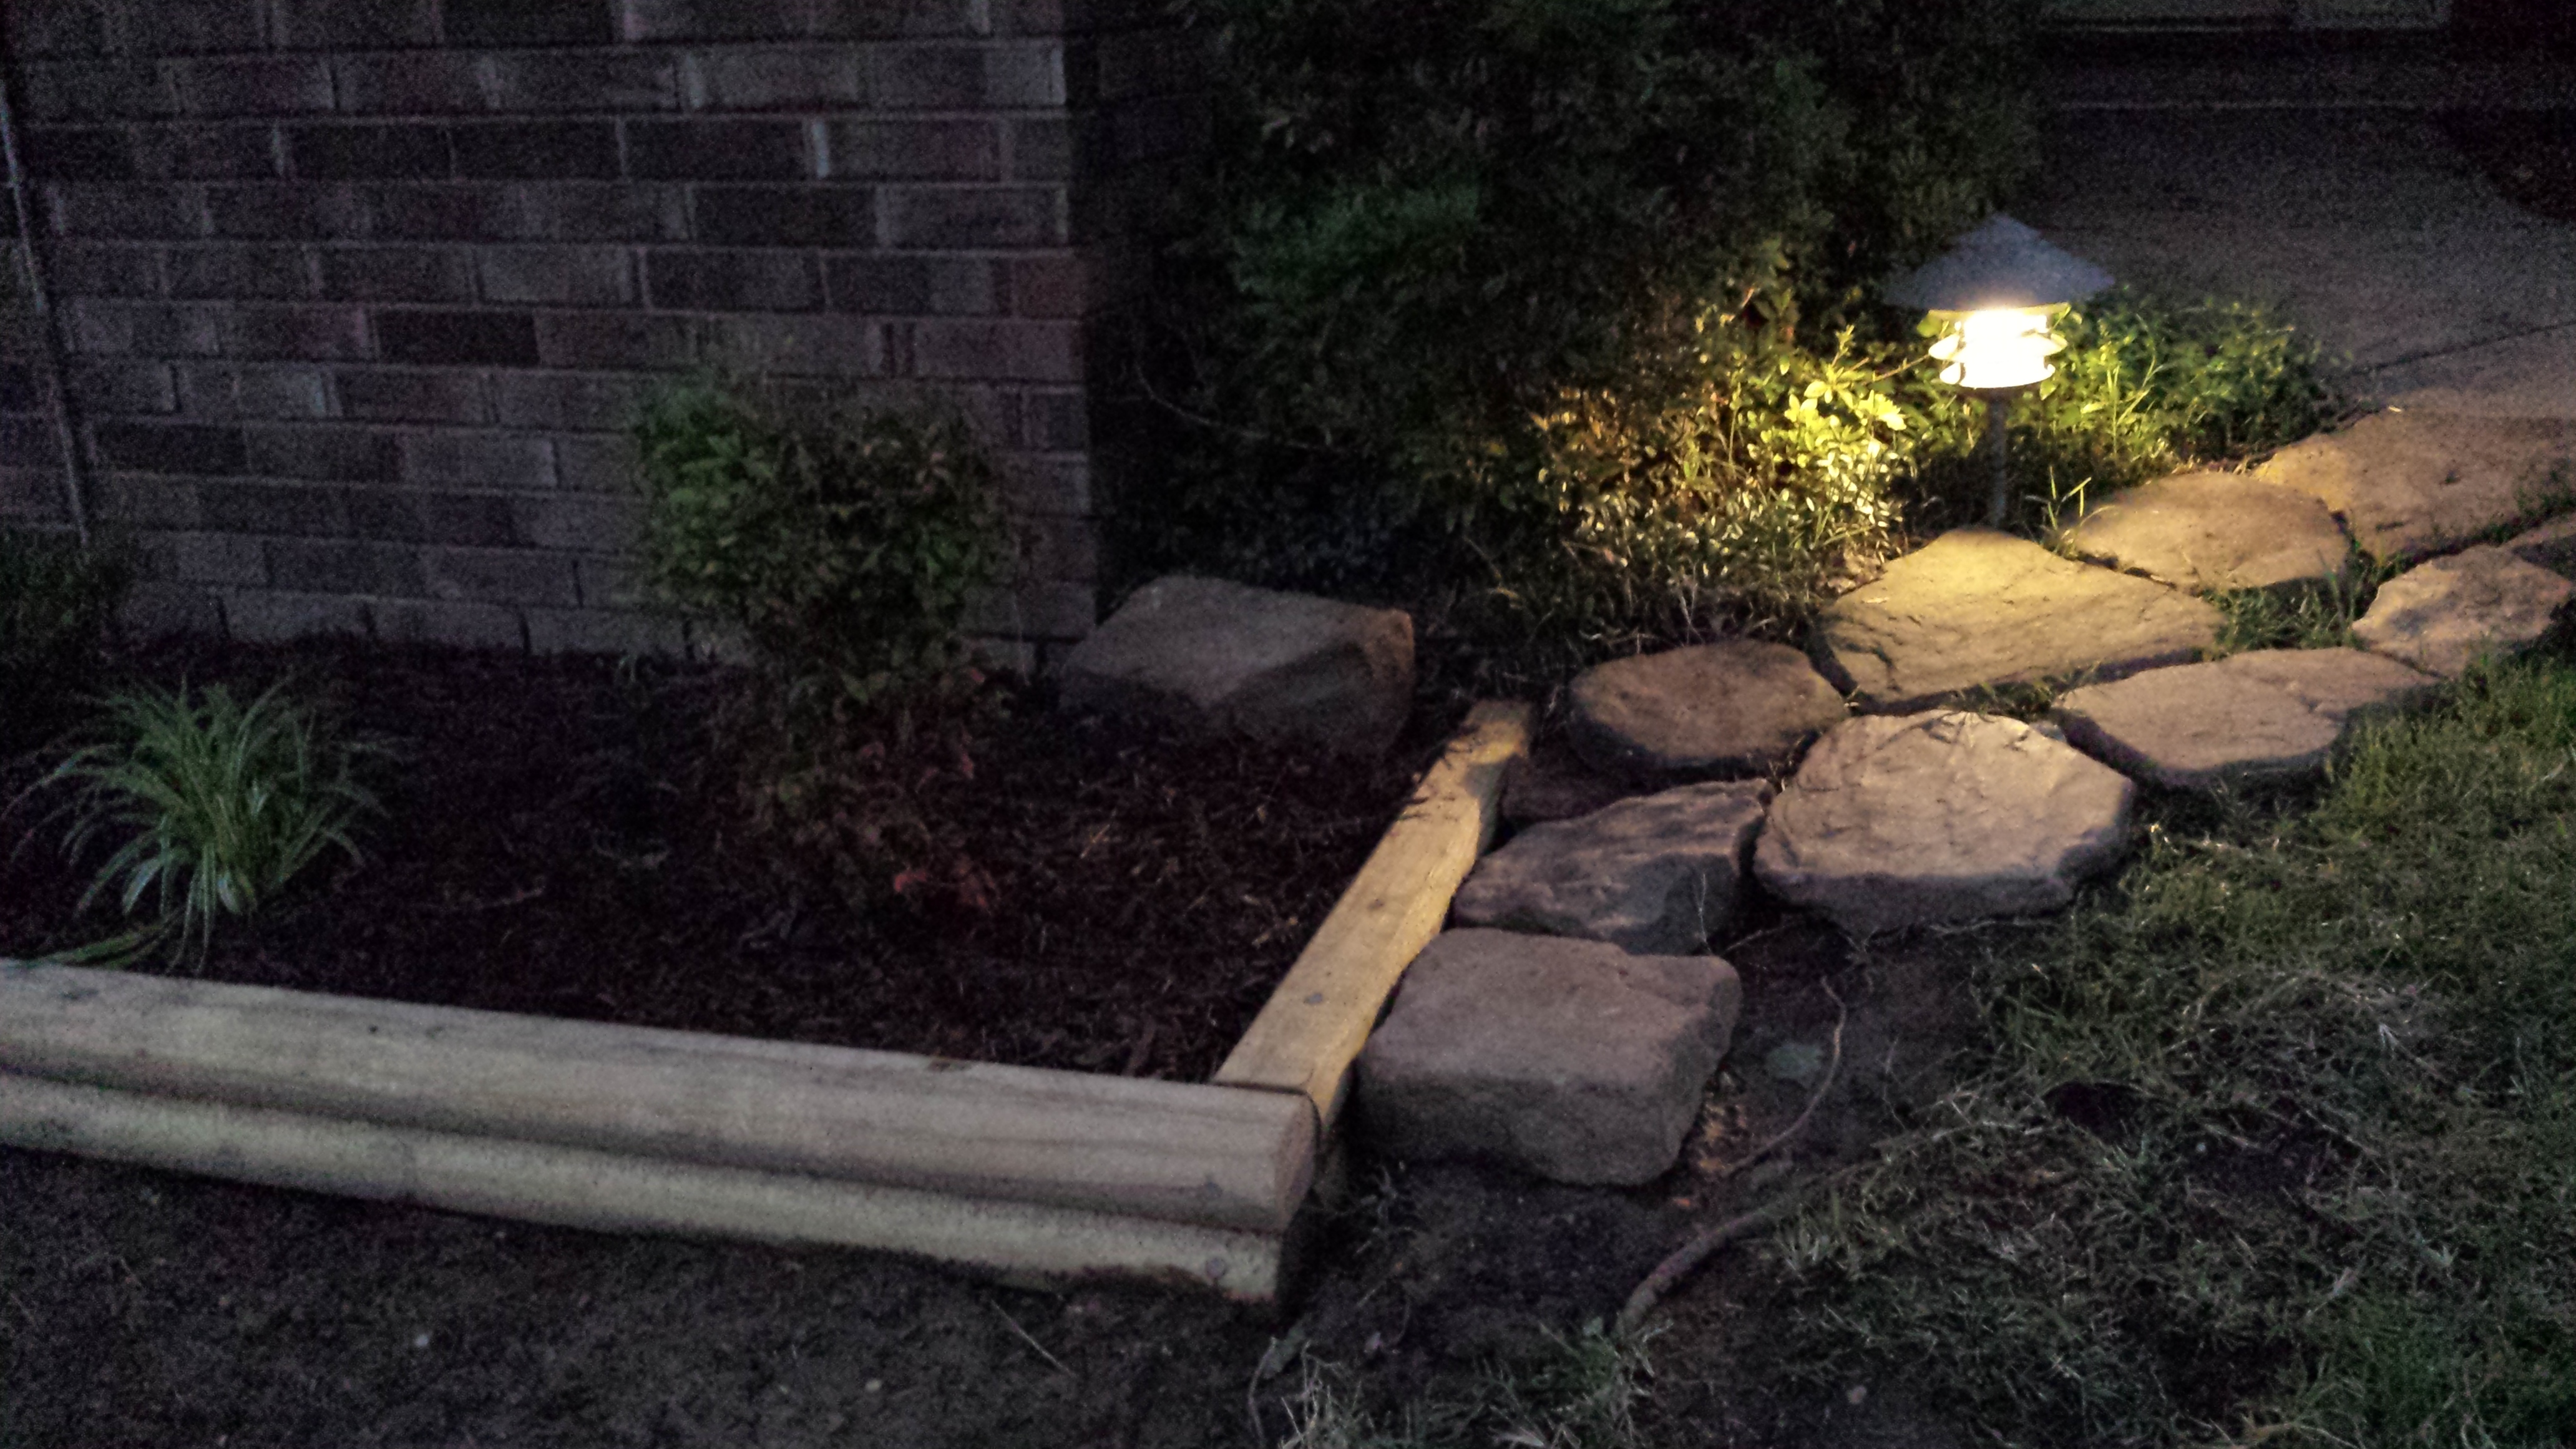
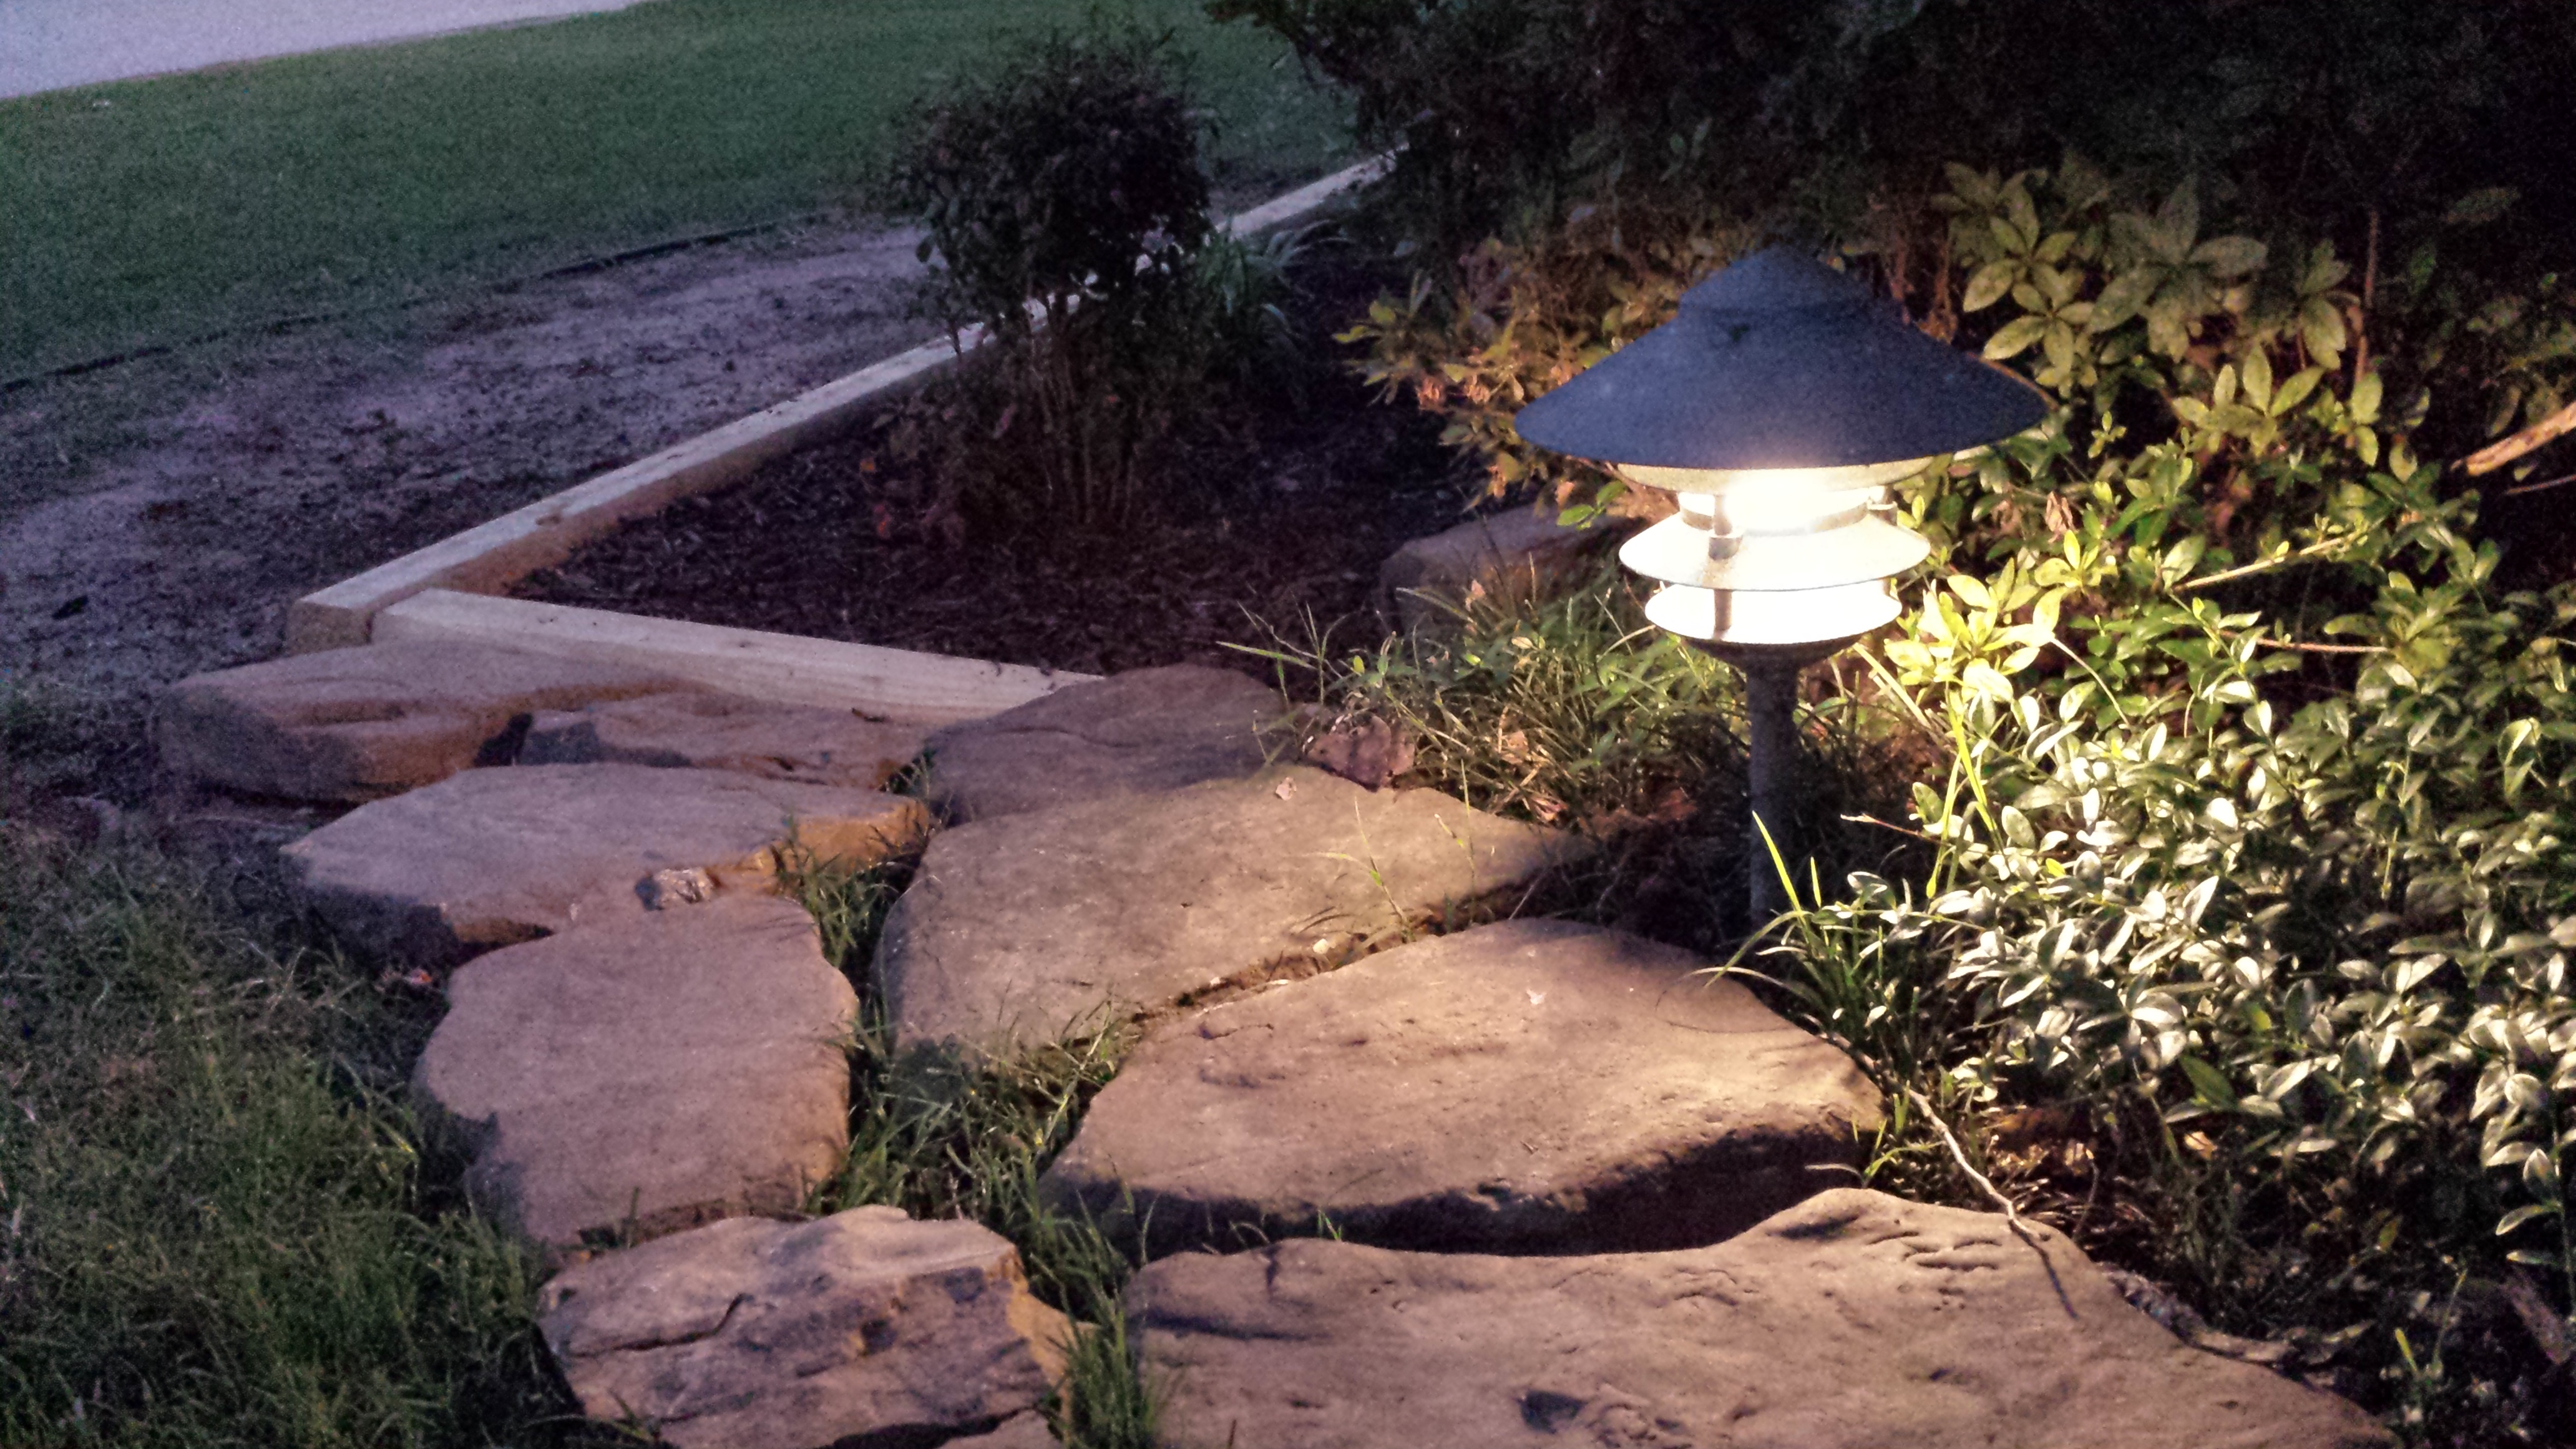
Doing the planting was extremely satisfying. After all the hard work building the raised bed and transporting the dirt, placing the little plants into the ground was so EASY. I absolutely love how the natural Arkansan stones blend seamlessly with the purples in my brick, and how the purple plant on the corner compliments as well. I also love how light the landscaping timbers are and I feel that it brightens up the front of the house, blending with the shutters. Ben and his father did an excellent job laying the landscaping timber for the raised flower bed and the bed was perfectly even across when he was done- 2 timbers on the high side and 5 on the low side. LOVE IT. We are going to have to put some sod down next week to finish patching up the area where the large bushes were but it’s 99% done and we are thrilled. Thanks again to the Home Depot (#DigIn) for all their expert advice and help! Check out these amazing pics below!
AFTER:
http://gardenclub.homedepot.com/ to see some of the many benefits of membership. *This is a sponsored post written by me on behalf of The Home Depot.