


 Recently I have put my crafty pants back on . I joked while I was pregnant with Bug that he would be a creative genius because he seemed to suck all of the creative juice out of me, leaving me feeling frustrated and without any ideas. It was a great excuse but after he was born no great creative wave swept across my brain. I think what I was experiencing was called “motherhood”. 🙂
Thanks to Pinterest (if we were totally honest here I think that most of the Do It Yourself posts out there these days have inspiration from Pinterest…) my imagination was re-sparked into a blazing inferno! Ben *loves* my new found creativity… and all the little things that I just need* a little* help from him to finish… hah!
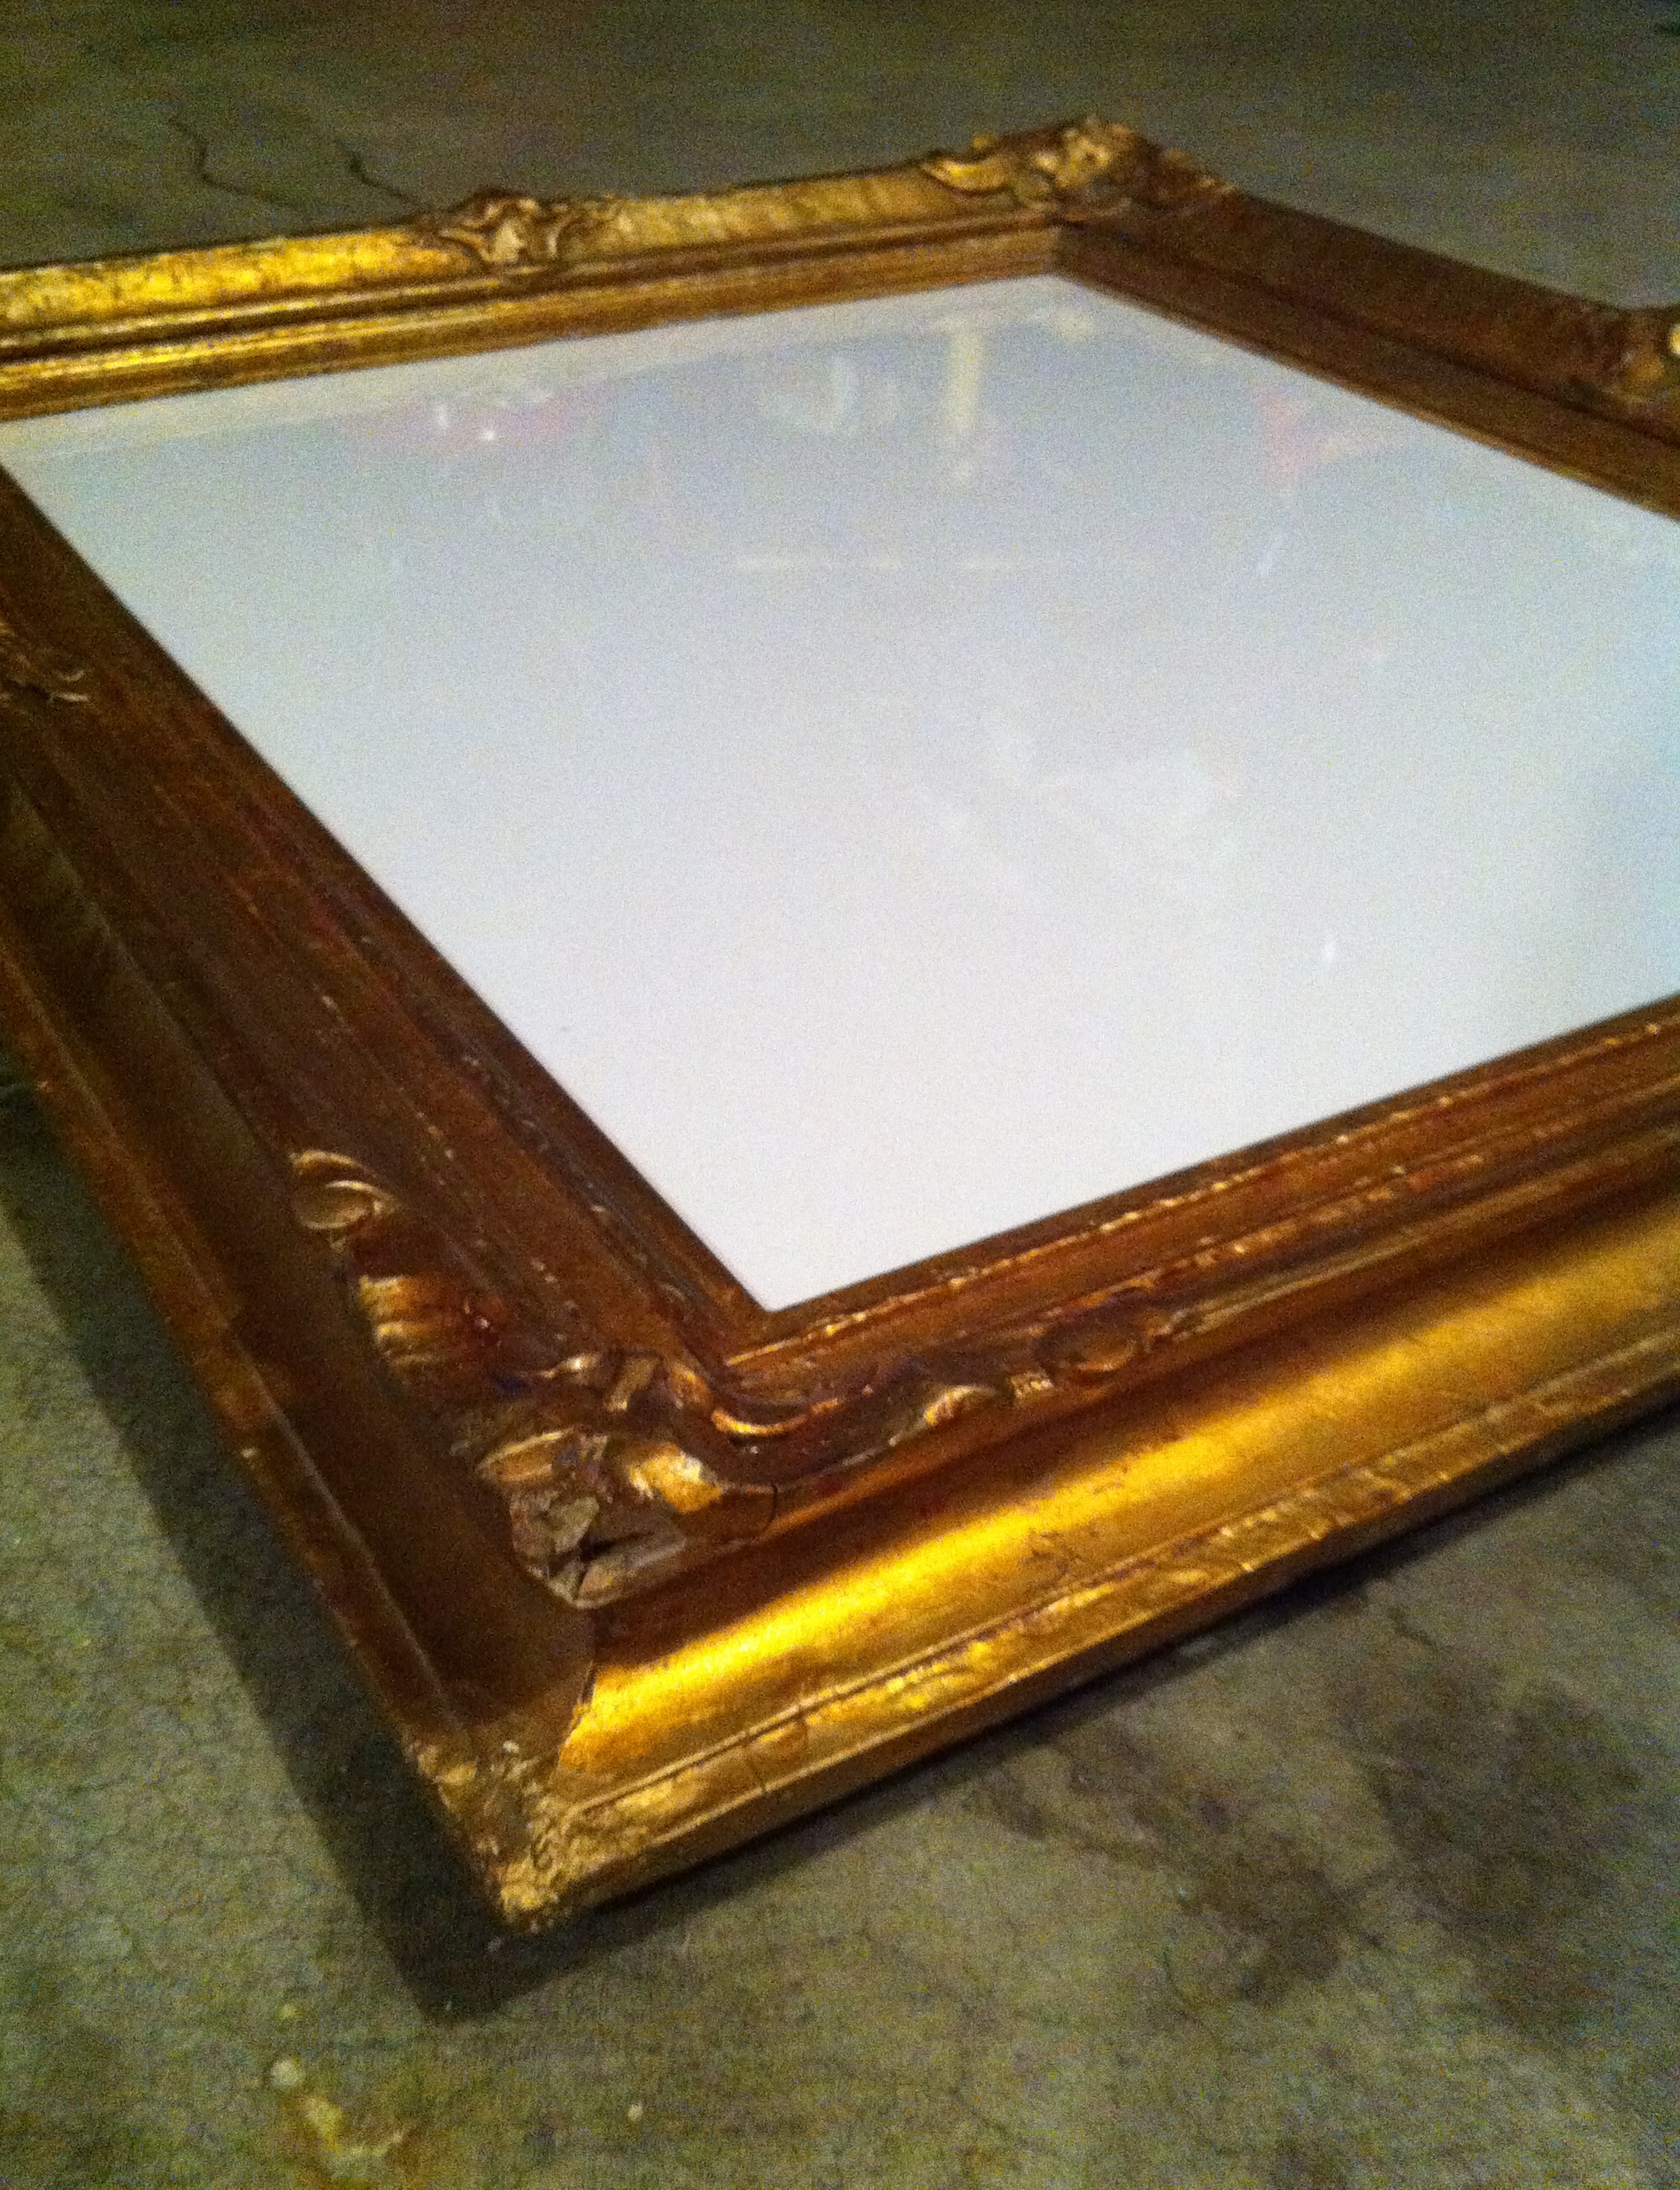
So thanks to the fact that I can’t sew worth a darn but had bright stars in my eyes so I had already purchased 6 yards of burlap (and was sitting neglected in a corner), I was set for my most recent inspiration: To make a dry erase marker board. I had a gaudy picture frame sitting in a closet, the burlap, the black faux finish I wanted to use and dry erase markers. All I needed was some glass for the gaudy picture frame and Hobby Lobby easily helped out there. Originally I had wanted a chalkboard style of board (I was going to paint a square on my wall in chalkboard paint then put a frame around it) but when I saw this craft project, I realized how much prettier it was and how much more user-friendly it is. No one actually LIKES chalk! Chalkboards are whimsical but marker boards are much more practical and with the burlap, it’s transformed from something bland into something artistic!
To start this project for yourself you will need:
-A picture frame with glass
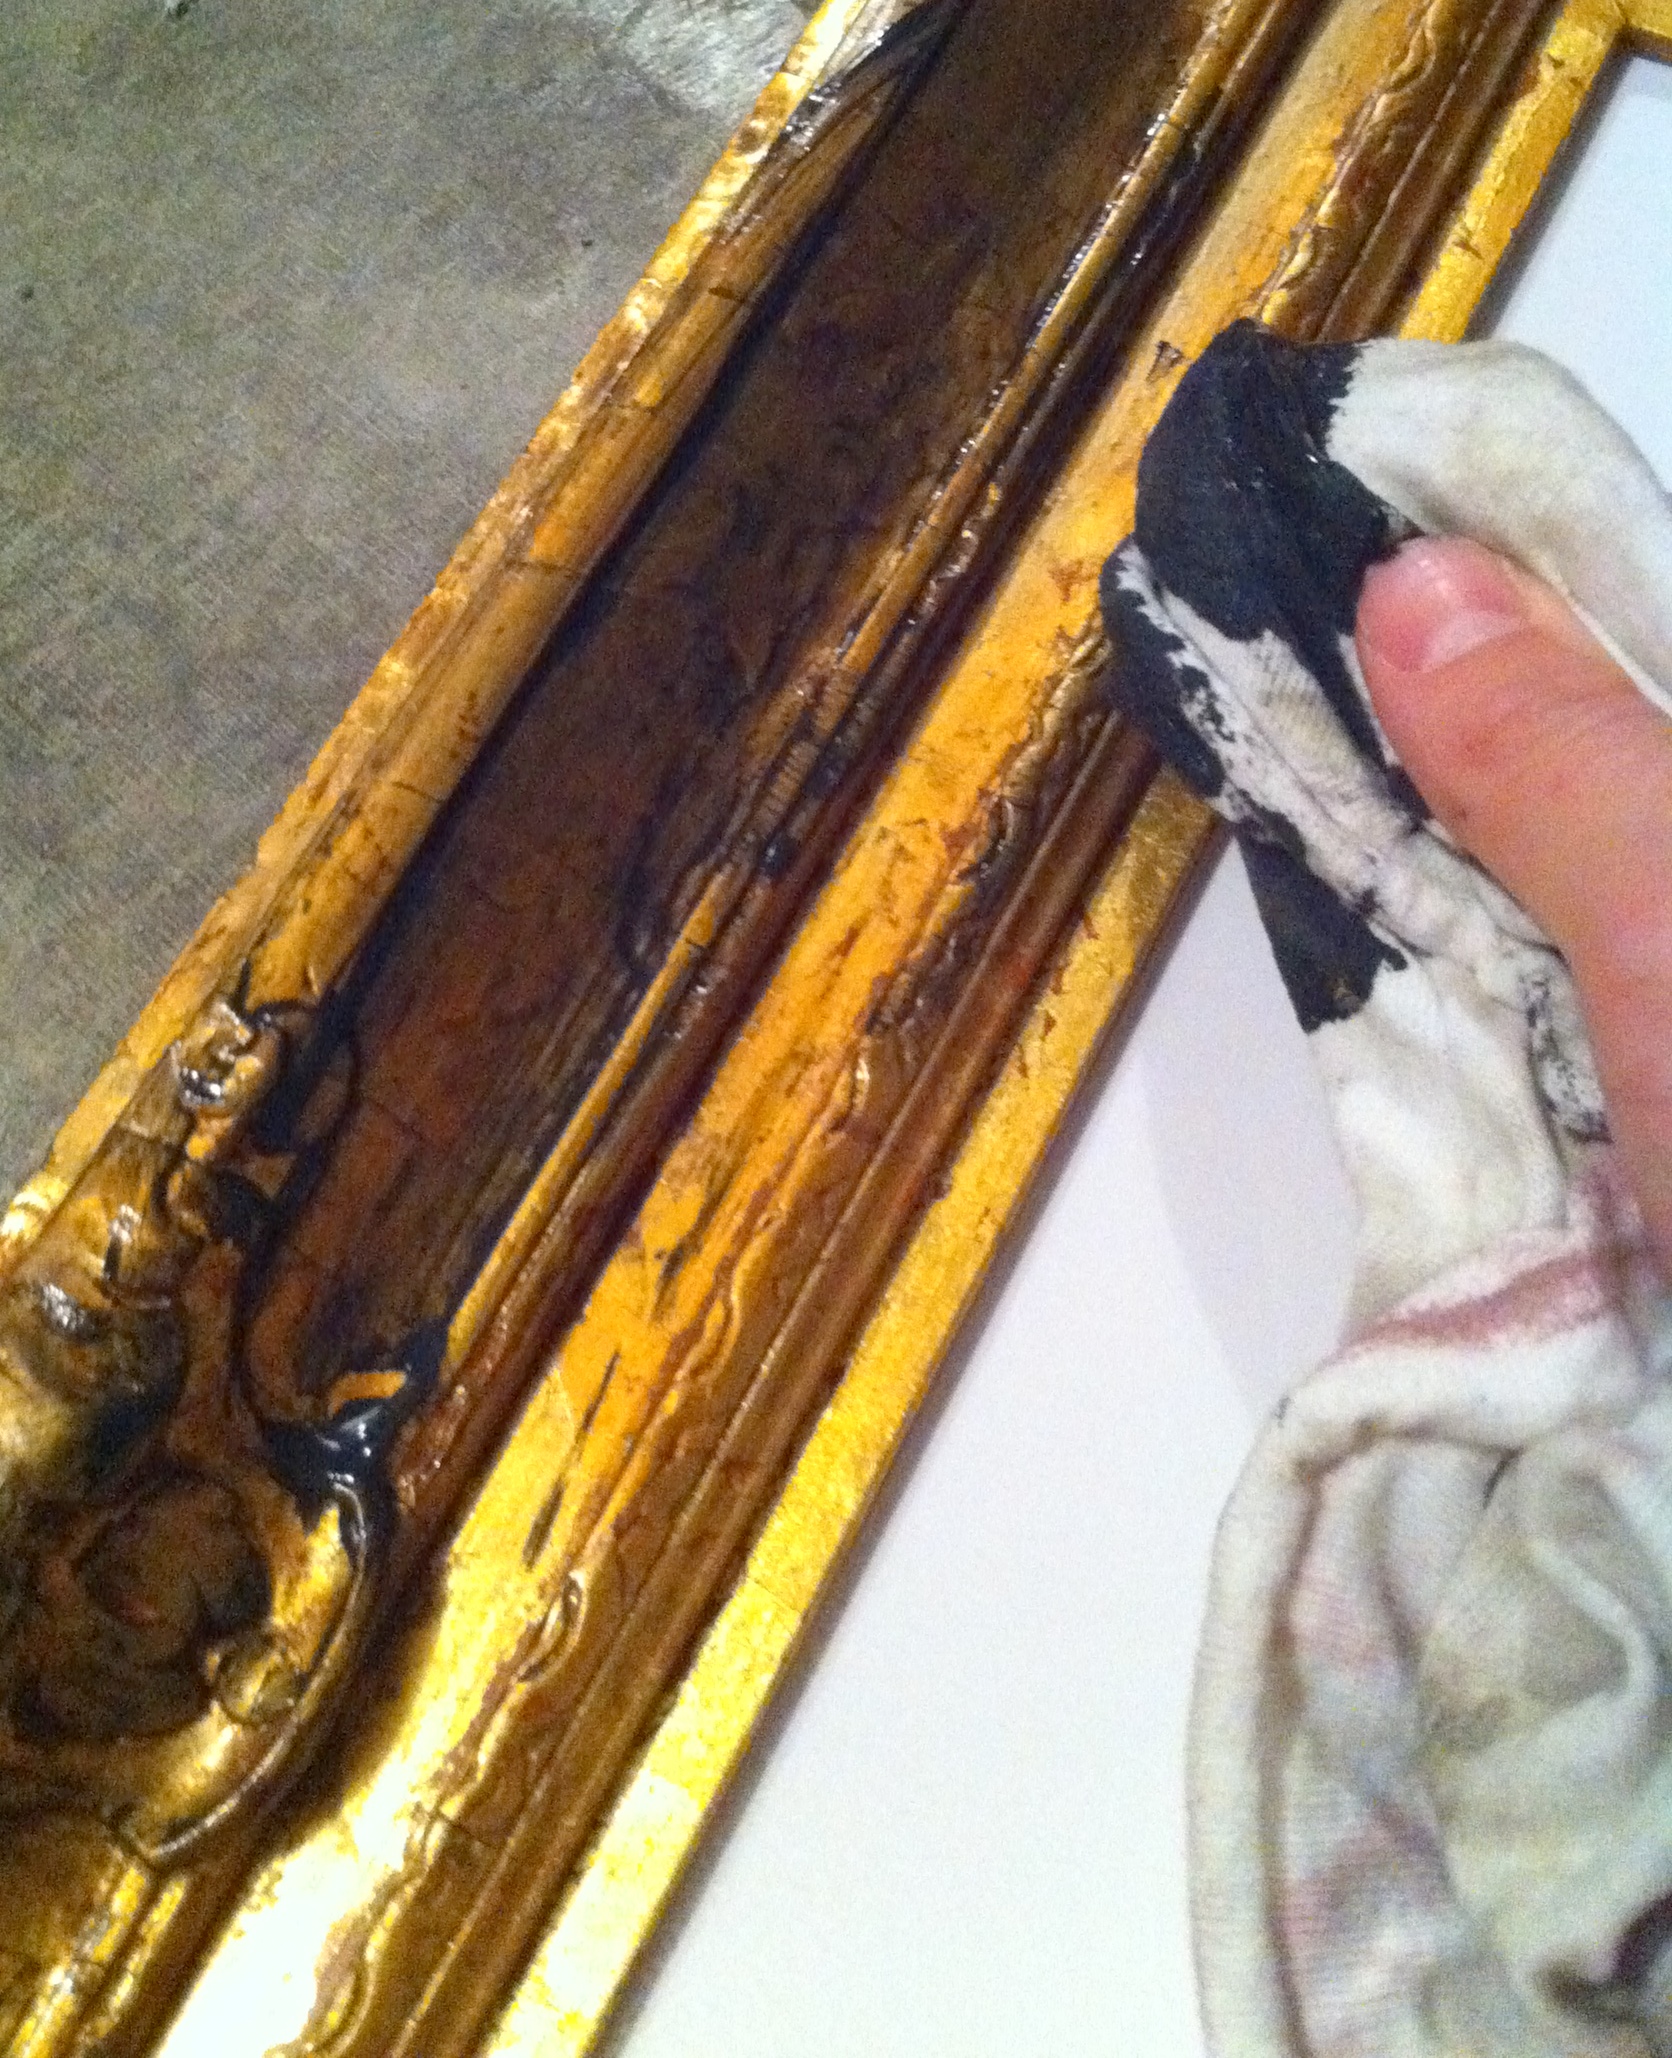
-Ralph Lauren Faux Technique glaze (Home Depot)- tinted the color of your choice. I chose black, like I usually do! (If you want a solid color don’t use the glaze and just get the color of paint that you want.)
-Burlap- enough to cover the back of your picture frame. Measure your frame if you need to.
-Paint Brush
-Rags
 Step 1: Lay the picture frame down on a clean surface. With a paint brush liberally apply the first coat. With a rag wipe it off. Repeat process until desired shade is reached! TIP: Don’t wipe too much. Let it really get in the wood grains and details of the frame.
Step2: Carefully lay out the burlap behind the glass. I intentionally cut the piece larger than the back so the edge was about 2 inches too large. It helped with the stability once I put the backing on. You will have to straighten and pull it to get it to lay straight.
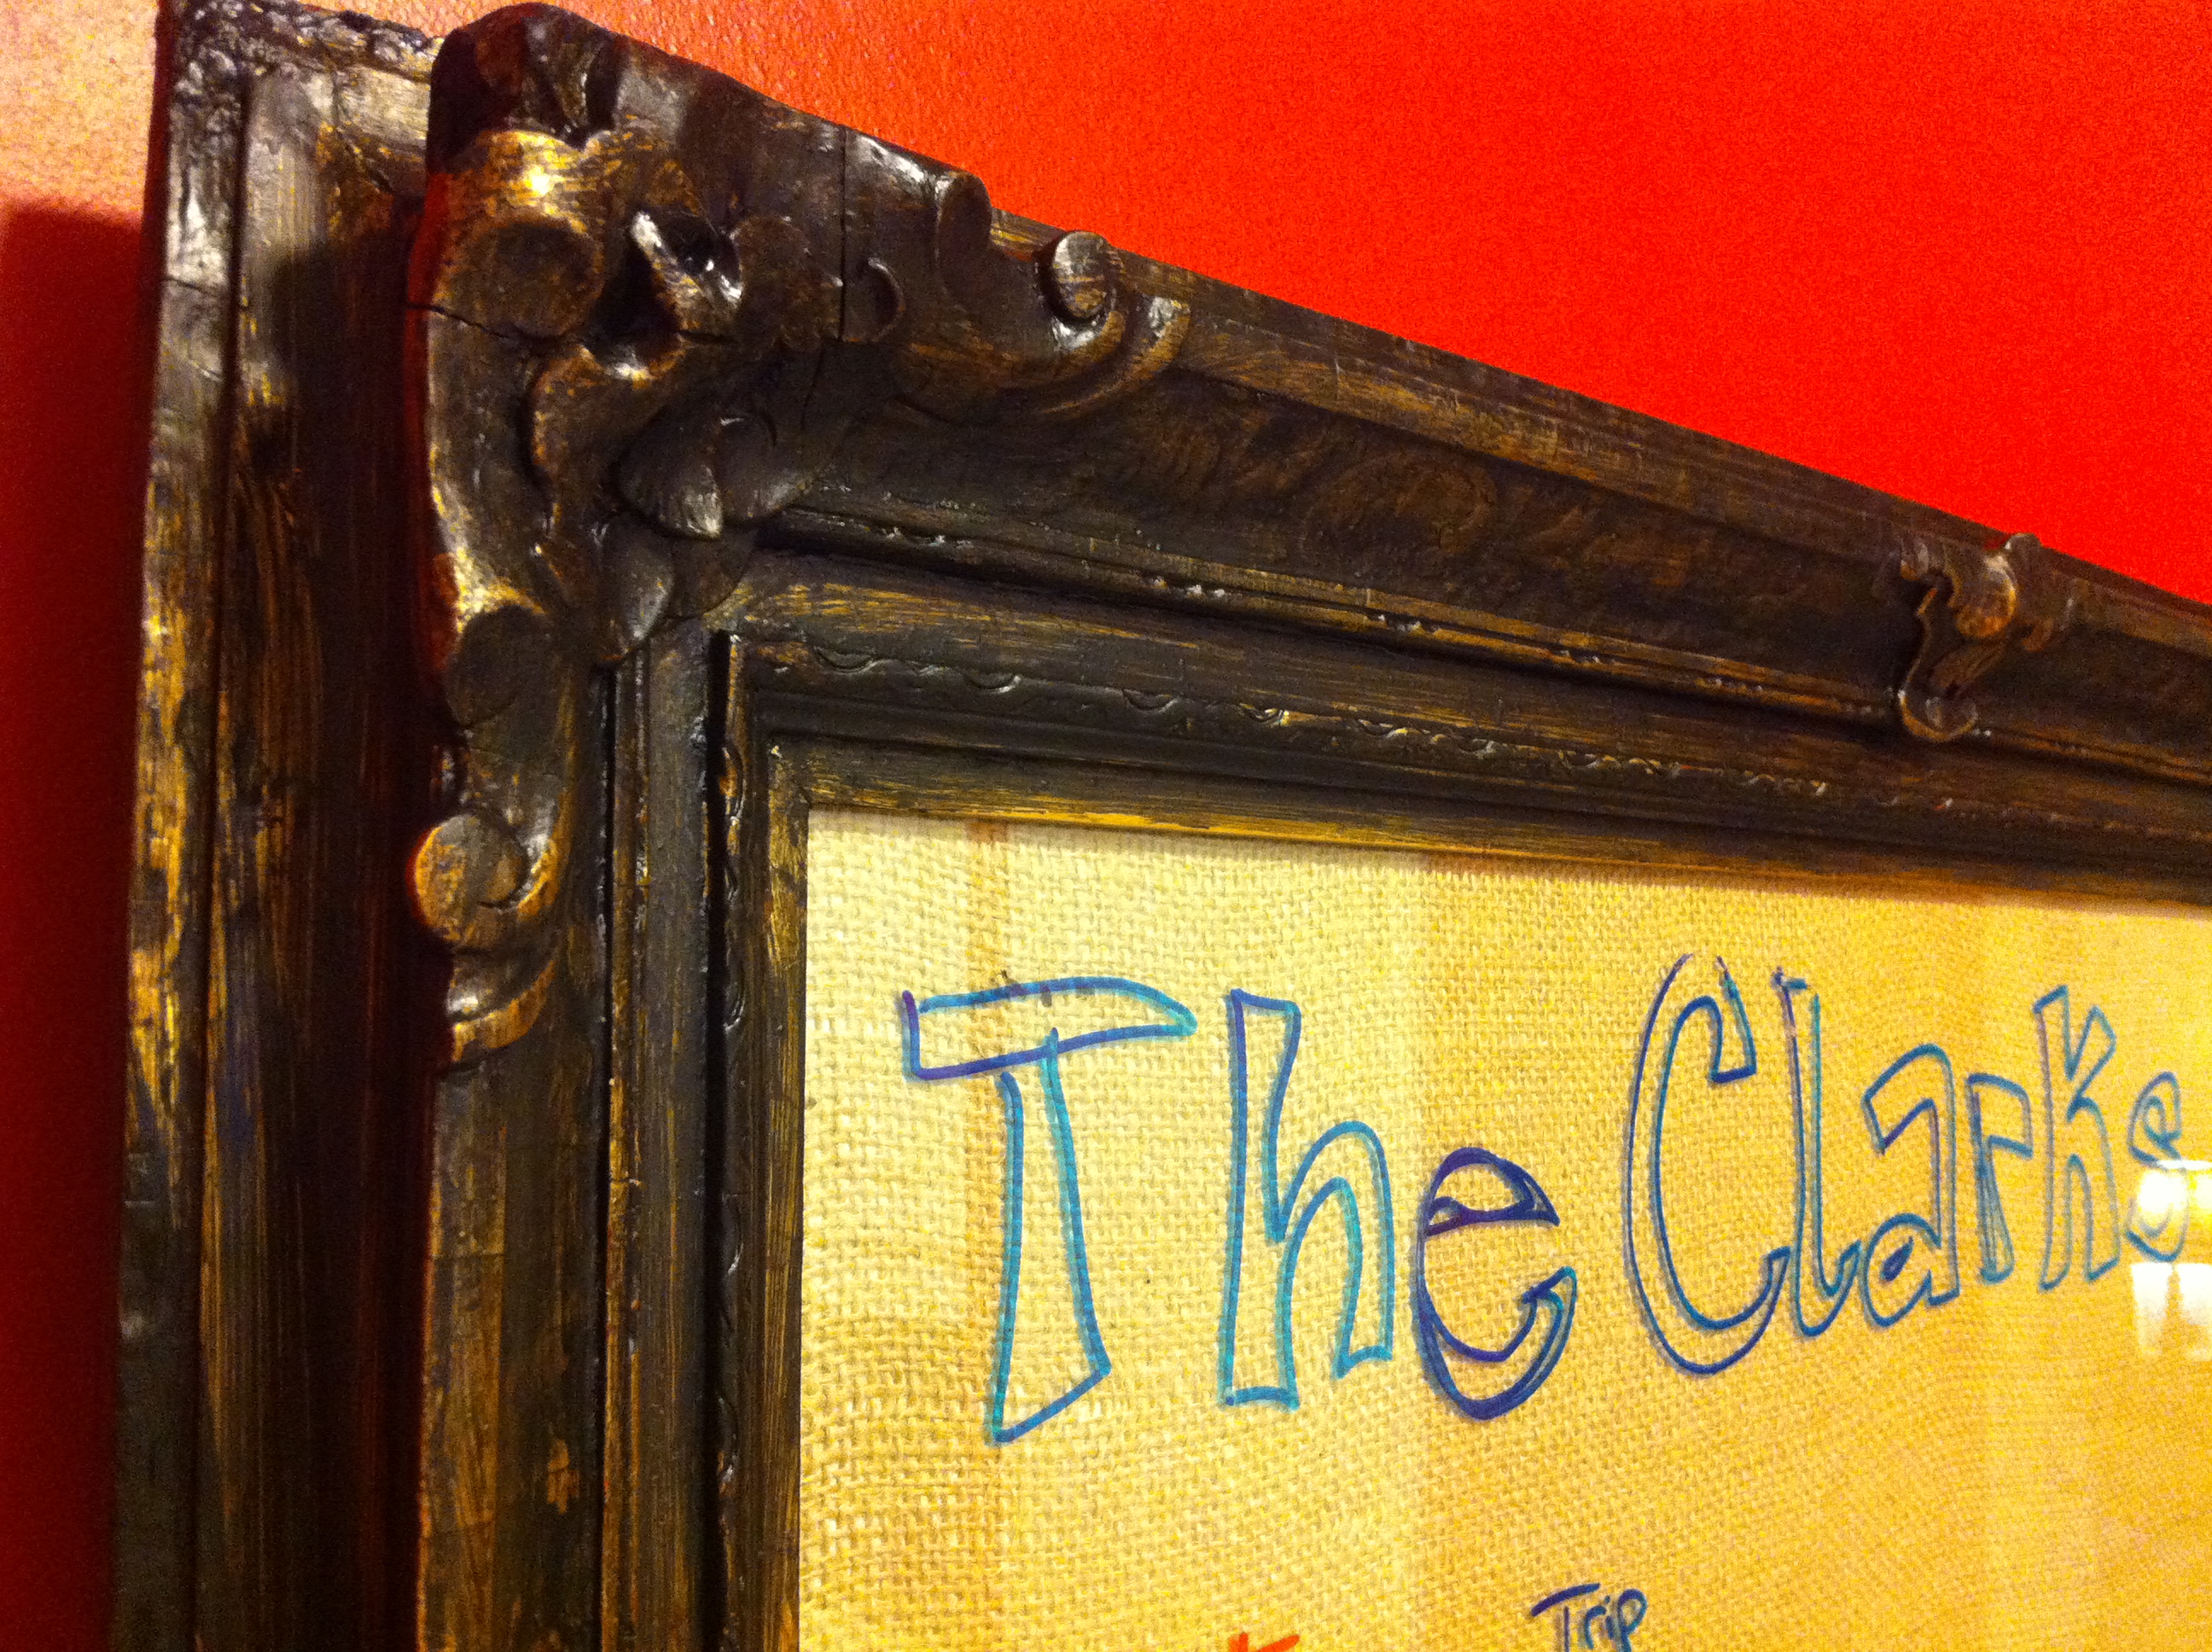
Step 3: Hang it up on the wall and enjoy! I found a cute little vase to hang up next to it to keep my dry erase markers close by so when I needed them they are close by. I love it and now use it as a calendar instead of a Wal-Mart list. 🙂
The AFTER, hanging in my kitchen. I love it! Every time I walk into that room I smile. It’s a pretty piece regardless of how much or how little you use it!
